
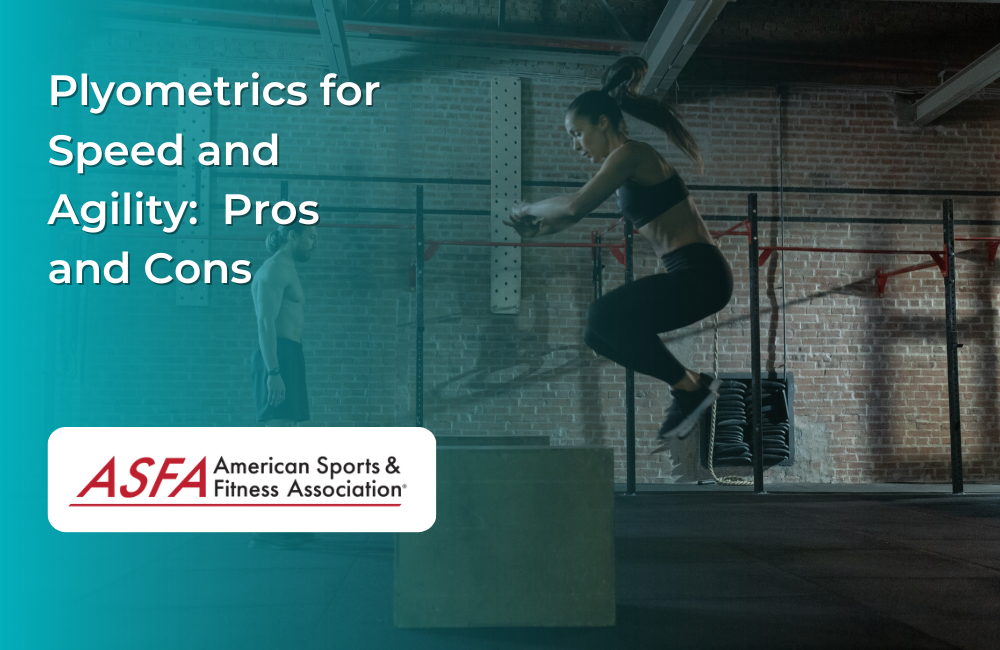
Plyometrics for Speed and Agility: Pros and Cons
Choosing between two training options starts with the job each one needs to do. Plyometrics for Speed and Agility: Pros and Cons is therefore a question of fit, not a search for an absolute winner.
Technique is not a single perfect shape. It is a repeatable way to complete the movement while controlling the load, range, and positions that matter for the goal. The next sections turn that principle into specific decisions.
Programming Considerations
A useful checkpoint: Choose the variation that permits a stable setup and repeatable range. Add repetitions or resistance only while the same control is maintained; stop when pain or compensation changes the movement.
1. Enhanced Speed and Agility
Plyometric exercises are specifically designed to improve the speed at which your muscles contract. Exercise intensity plays an important role in enhancing speed and agility by determining the appropriate volume of foot contacts for different athletic abilities.
Example: Incorporating ladder drills and cone drills into a training routine can significantly improve an athlete’s ability to maneuver quickly during a game.
3. Enhanced Athletic Performance
Plyometric training contributes to better overall athletic performance by honing skills such as vertical jumping, lateral movement, and quick reaction times. This translates to improved performance in many sports and physical activities.
Example: Athletes who regularly perform plyometric exercises may notice improvements in their sprint times, agility drills, and overall explosiveness on the field or court.
5. Fat Loss
The high-intensity nature of plyometrics can contribute to calorie burning and weight management. Plyometric exercises elevate the heart rate and engage multiple muscle groups, leading to an increase in overall metabolic rate.
Example: A plyometric workout that includes exercises like squat jumps, burpees, and mountain climbers can burn a substantial number of calories, making it an effective addition to a fat loss program.
2. Skill and Technique Requirements
Performing plyometric exercises correctly requires proper technique and form. Inadequate training or a lack of coaching can lead to poor execution, increasing the risk of injury.
Example: Improper landing technique during box jumps can lead to knee injuries if the knees cave inward upon impact. A coach or trainer should monitor and correct form to ensure safety.
4. Not Suitable for Everyone
Plyometrics may not be suitable for individuals with certain medical conditions, a history of joint problems, or those who are overweight. Before starting plyometric exercises, it is important to incorporate strength training to build an adequate strength base, which enhances physical readiness and helps may help manage injury risk.
Example: Individuals with knee osteoarthritis or lower back issues should avoid high-impact plyometric exercises and consider low-impact alternatives.
5. Specificity of Goals
While plyometrics are excellent for improving speed, agility, and power, they may not be the most effective training method for individuals with different fitness goals, such as muscle hypertrophy (muscle growth) or endurance. Plyometrics should be incorporated as part of a well-rounded training program that aligns with your specific goals.
Example: A bodybuilder focusing on muscle hypertrophy may prioritize weightlifting exercises like squats and deadlifts over plyometrics, as these are more effective for building muscle mass.
1. Proper Warm-Up
Always begin your plyometric workout with a thorough warm-up that includes dynamic stretches and mobility exercises. Warming up prepares your muscles, joints, and cardiovascular system for the high-intensity movements that plyometrics demand.
Example: A proper warm-up might include leg swings, hip circles, high knees, and a few minutes of light jogging or skipping.
3. Quality Over Quantity
Focus on performing plyometric exercises with proper form and technique, even if it means doing fewer repetitions. Quality movements will yield better results and reduce the risk of injury compared to higher volumes of poorly executed exercises.
Example: Instead of doing 20 sloppy box jumps, aim for 10 perfectly executed jumps with proper knee alignment and soft landings.
4. Recovery Time
Allow sufficient recovery time between each plyometric training session to prevent overuse injuries. Plyometrics place significant stress on the muscles and joints, so it’s important to give your body time to repair and strengthen before your next session.
Example: Schedule plyometric workouts 2-3 times per week with at least 48 hours of rest between sessions to ensure adequate recovery.
Sample Weekly Plyometric Workout Plan
Here’s a sample weekly plyometric workout plan designed to improve speed, agility, and power:
Day 1: Lower Body Plyometrics
- Warm-Up: 5-10 minutes of dynamic stretching (leg swings, hip circles, high knees).
- Box Jumps: 3 sets of 10 reps
- Lateral Bounds: 3 sets of 12 reps (6 per side)
- Depth Jumps: 3 sets of 8 reps
- Single-Leg Hops: 3 sets of 10 reps per leg
- Cool-Down: 5-10 minutes of static stretching focusing on the hamstrings, quadriceps, and calves.
The Practical Takeaway
Use the information to make one clear adjustment, then judge the result from repeatable performance rather than novelty.

Start With the Decision That Matters
Applying the ideas in Plyometrics for Speed and Agility: Pros and Cons starts with a clear training objective rather than copying a movement, drill, or weekly schedule without context.
Decide whether the priority is skill, strength, muscle development, mobility, work capacity, or general activity. That choice affects exercise order, range of motion, resistance, repetitions, rest, and frequency. A program becomes harder to evaluate when several goals are pursued in the same set without a clear priority.
Use Simple Evidence, Not Guesswork
Before changing the plan again, compare:
- repetitions completed with the intended technique
- load, range, tempo, and rest used
- perceived effort and how close the set came to technical failure
- recovery, soreness, and performance in the next session
When the response differs from the expectation, revisit the setup and assumptions before adding more volume, restriction, or complexity.
Adapt the Guidance to the Person
Exercise selection should fit the participant rather than require the participant to fit a preferred variation. A different stance, grip, range, resistance, or tool may preserve the goal more effectively. Use the version that allows a controlled and repeatable pattern, then progress from the response rather than from an arbitrary timetable.
Avoid These Planning Errors
- Letting speed hide a loss of position or control.
- Treating discomfort as a cue to push through rather than a reason to adjust and seek appropriate guidance when needed.
- Copying an advanced athlete’s program without matching training history or recovery.
- Changing exercises every session before a pattern can be evaluated.
A clear plan does not remove uncertainty, but it makes the next adjustment more responsible and easier to explain.
A Simple Implementation Check
- What is the primary training objective?
- Which variation allows the intended technique today?
- What load, range, tempo, and rest will be recorded?
- What sign will indicate that the set or session should stop?
- Which single variable may progress next?
This review keeps the next step tied to the topic while leaving room for individual judgment and feedback.


